Enquire Customer
1. Go to the back-office and click on the option Point Of Sale - Enquiry and then click on the option Enquire Customer.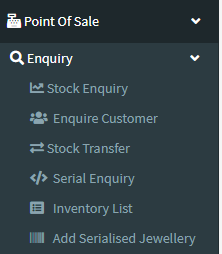
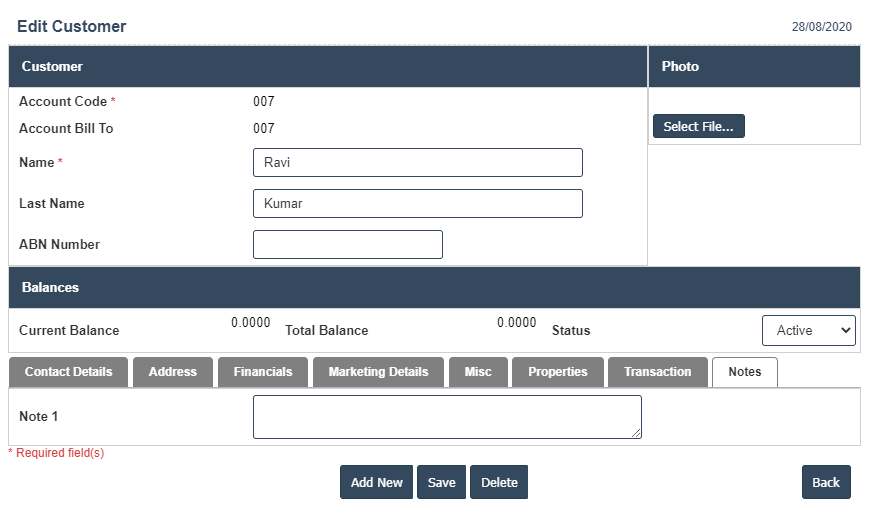
2. This Application is used for Adding New Customer with Account code,Account Bill to,Name, Last Name and ABN Number etc.
3. The following image Shows Add Customer Details.
4. In Above image click on Add New button then it will displays the following image.
5. Once you have completed the Customer details, click the Add button as shown below.
| Account Code : |
Field Type : VARCHAR HTML Type : Text Field size in DataBase :11 |
| Account Bill To : |
Field Type : VARCHAR HTML Type : Text Field size in DataBase :11 |
| Name : |
Field Type : VARCHAR HTML Type : Text Field size in DataBase :11 |
| Last Name : |
Field Type : VARCHAR HTML Type : Text Field size in DataBase :11 |
| Current Balance : |
Field Type : VARCHAR HTML Type : Text Field size in DataBase :11 |
| Total Balance : |
Field Type : VARCHAR HTML Type : Text Field size in DataBase :11 |
| Status : |
Field Type : VARCHAR HTML Type : Text Field size in DataBase :11 |
6. After Completing the Customer Details then go to Contact Details.
Contact Details :
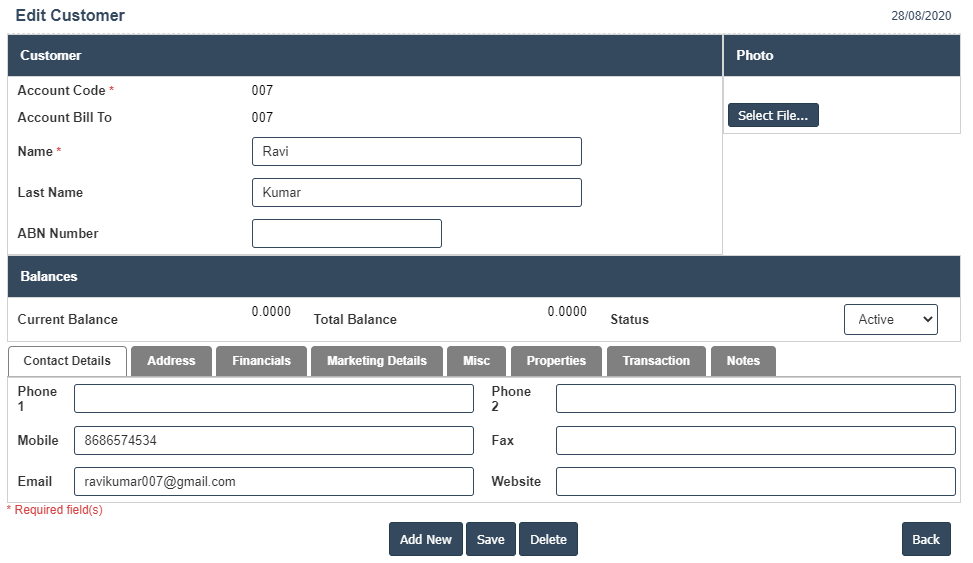
| Phone 1 : |
Field Type : VARCHAR HTML Type : Text Field size in DataBase :11 |
| Phone 2 : |
Field Type : VARCHAR HTML Type : Text Field size in DataBase :11 |
| Mobile : |
Field Type : VARCHAR HTML Type : Text Field size in DataBase :11 |
| Fax : |
Field Type : VARCHAR HTML Type : Text Field size in DataBase :11 |
| Email : |
Field Type : VARCHAR HTML Type : Text Field size in DataBase :11 |
| Website : |
Field Type : VARCHAR HTML Type : Text Field size in DataBase :11 |
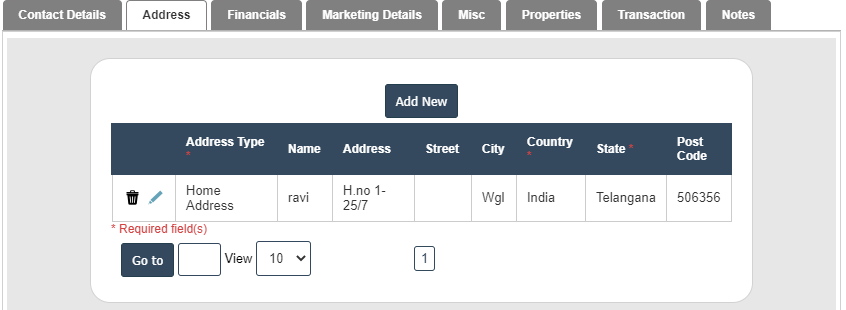
7. After Completing the Contact Details then go to Address then click on the Add New button as shown below.
Address :
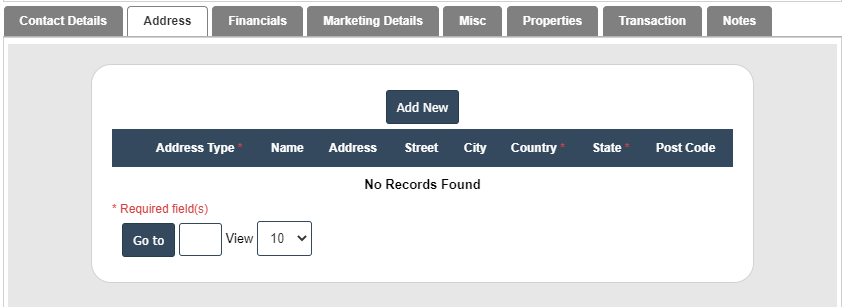
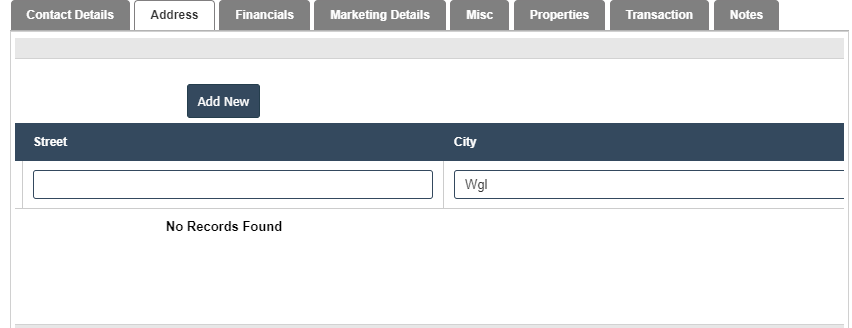
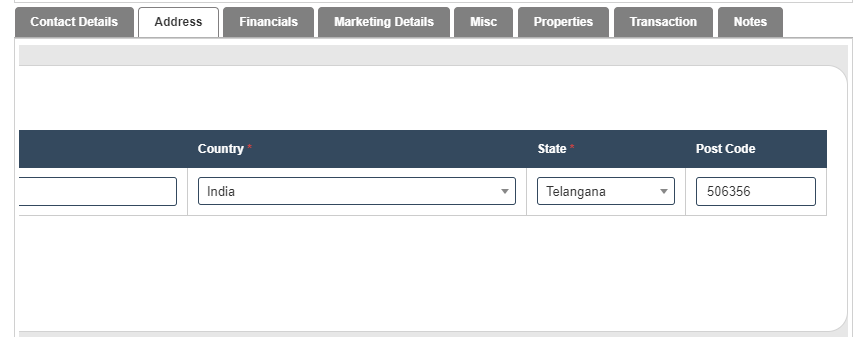
8. After that select Address Type, Name, Address, Street, City, Country, State and Post Code fill the details then click on ![]() right symbol.
right symbol.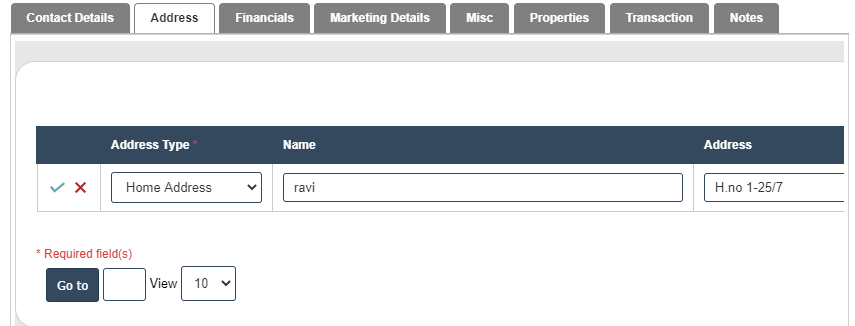
9. After Completing the Address then go to Financials.
Financials:
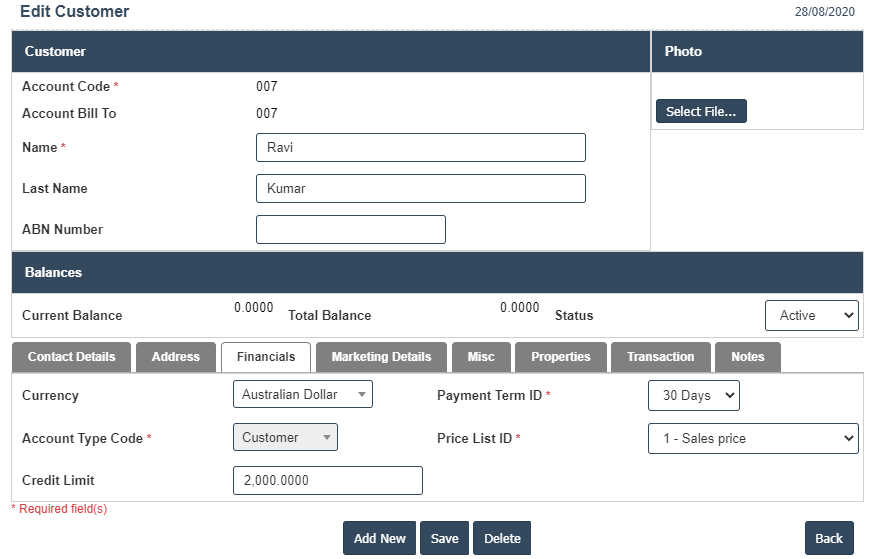
| Vat Number : |
Field Type : VARCHAR HTML Type : Text Field size in DataBase :11 |
| Credit Limit : |
Field Type : VARCHAR HTML Type : Text Field size in DataBase :11 |
| Control Account : |
Field Type : VARCHAR HTML Type : Text Field size in DataBase :11 |
| Tax Code : |
Field Type : VARCHAR HTML Type : Text Field size in DataBase :11 |
| Project Code : |
Field Type : VARCHAR HTML Type : Text Field size in DataBase :11 |
| General Ledger Account : |
Field Type : VARCHAR HTML Type : Text Field size in DataBase :11 |
10. After Completing the Financials then go to Marketing Details.
Marketing Details :
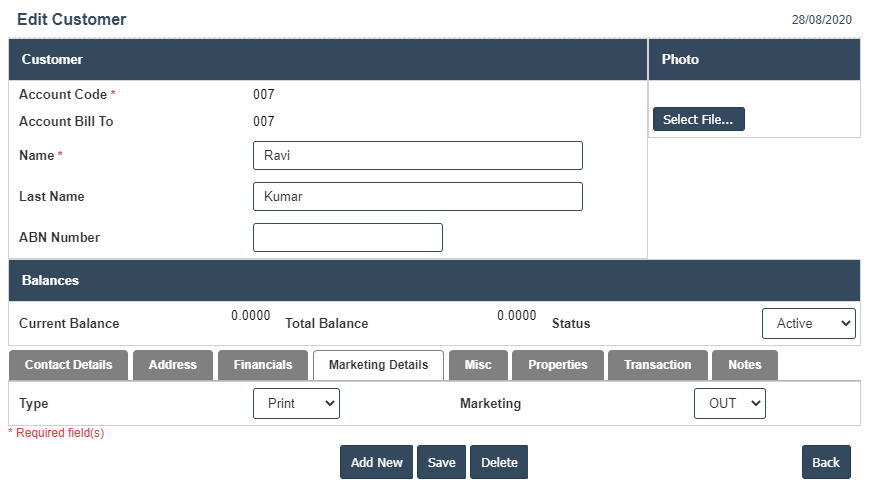
11. After Completing the Marketing Details then go to Misc Details.
Misc :
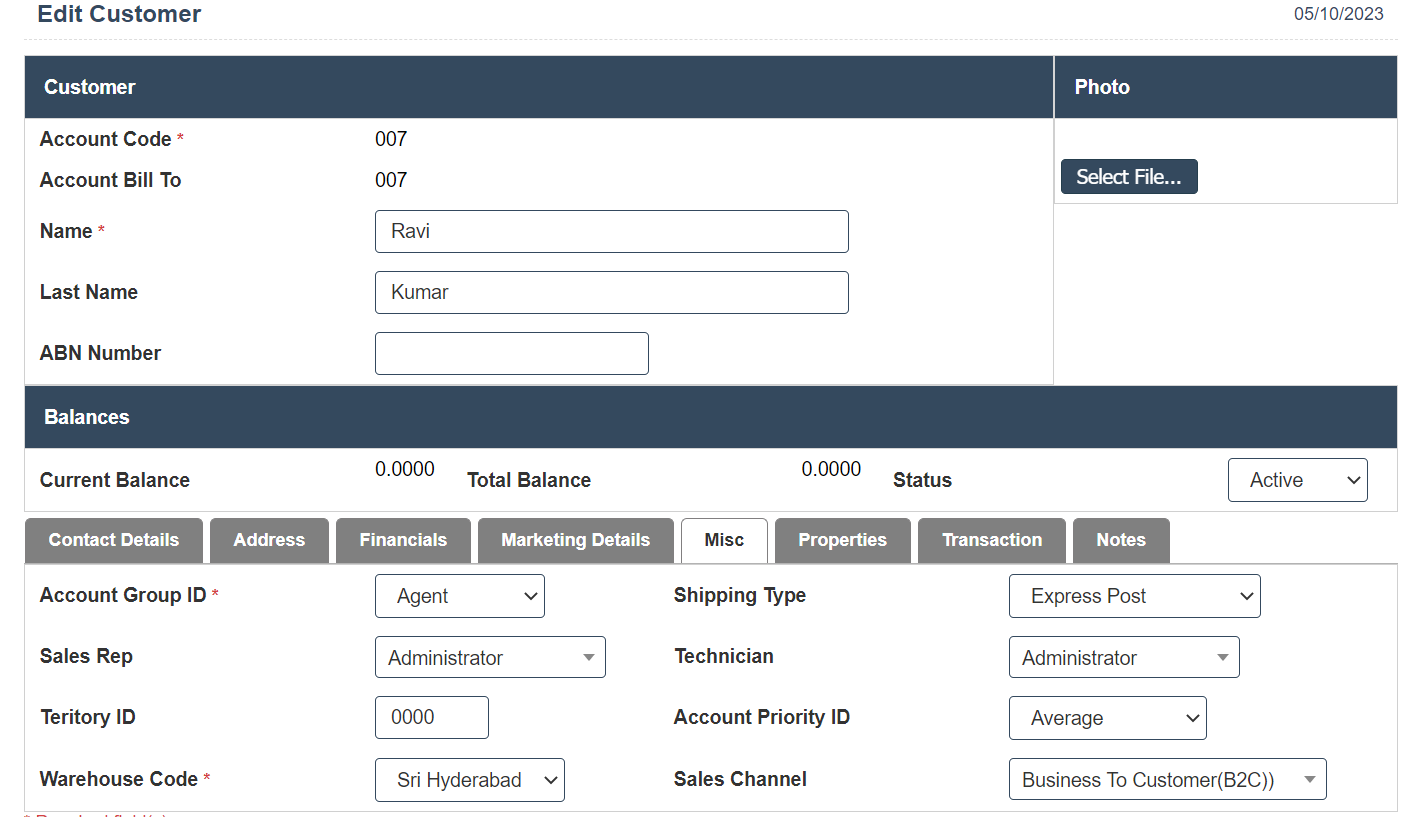
| Remarks : |
Field Type : VARCHAR HTML Type : Text Field size in DataBase :11 |
| Sales Rep : |
Field Type : VARCHAR HTML Type : Text Field size in DataBase :11 |
| Teritory ID : |
Field Type : VARCHAR HTML Type : Text Field size in DataBase :11 |
| Default Contact Id: |
Field Type : VARCHAR HTML Type : Text Field size in DataBase :11 |
| Company : |
Field Type : VARCHAR HTML Type : Text Field size in DataBase :11 |
| Account Manager : |
Field Type : VARCHAR HTML Type : Text Field size in DataBase :11 |
| Mentor Name : |
Field Type : VARCHAR HTML Type : Text Field size in DataBase :11 |
| Applicant Type : |
Field Type : VARCHAR HTML Type : Text Field size in DataBase :11 |
| Contact Details : |
Field Type : VARCHAR HTML Type : Text Field size in DataBase :11 |
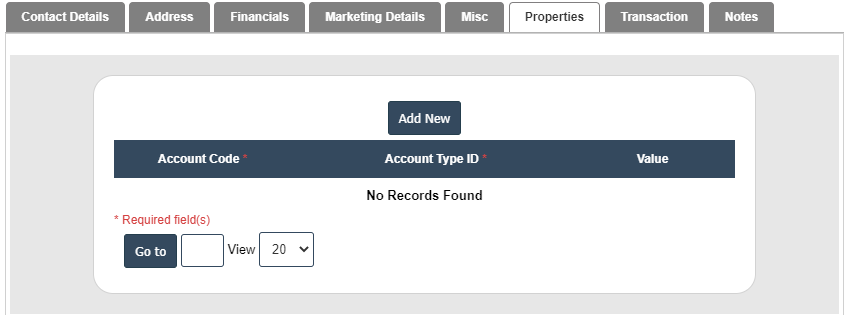
12. After Completing the Misc Details. then go to Properties.
Properties :
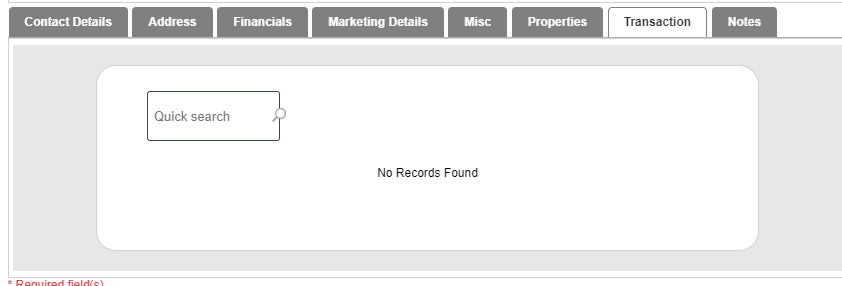
13. After Completing the Properties then go to Transaction.
Transaction :
14. After Completing the Transaction then go to Notes.
Notes :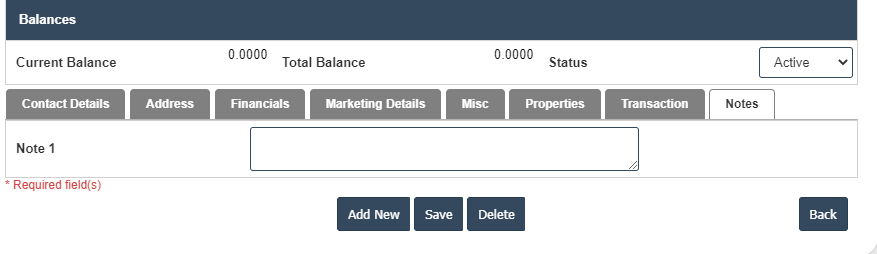
15. Click on the save button then details are saved.